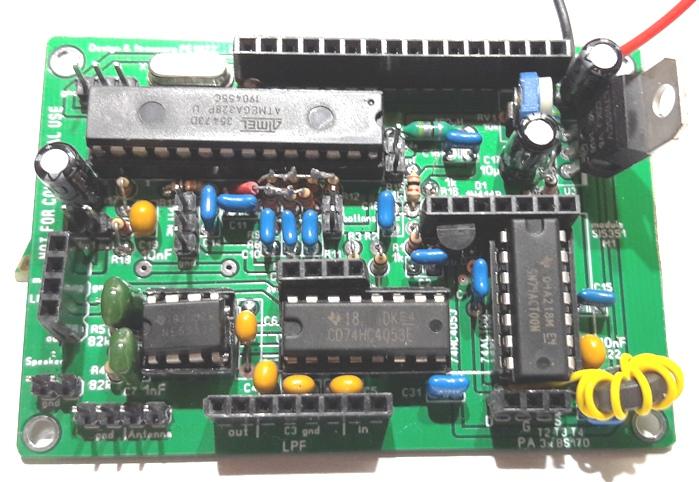
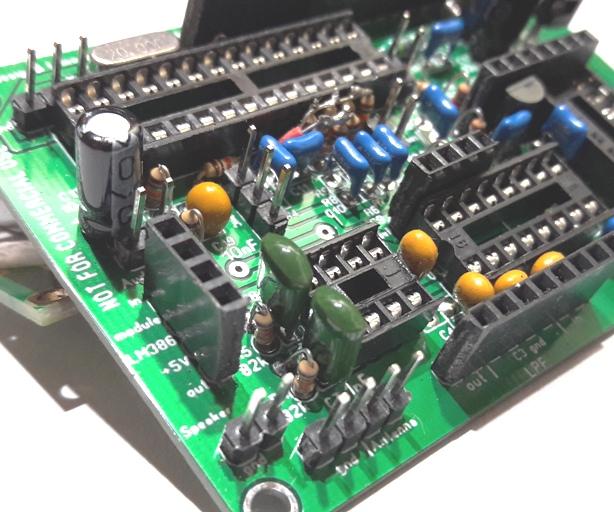
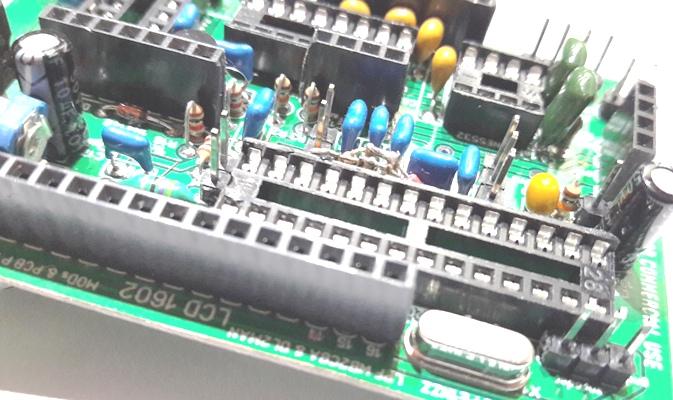
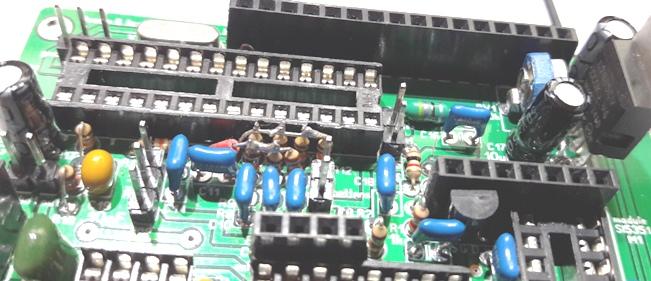
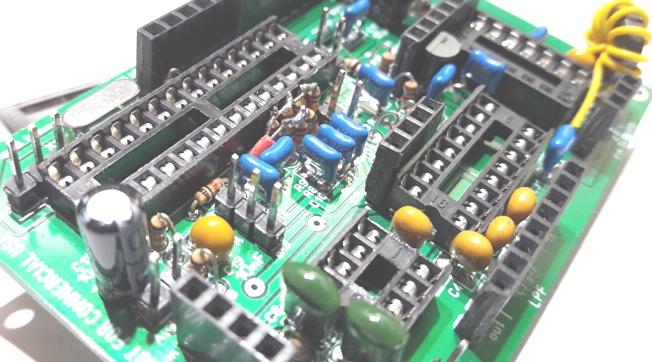
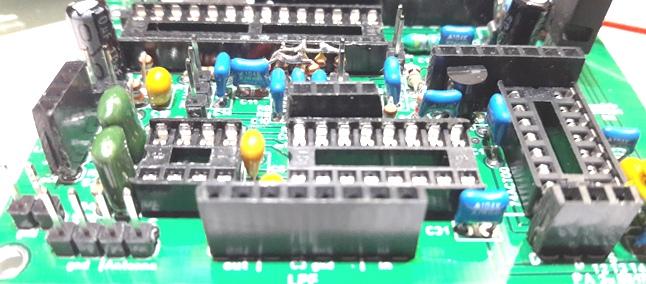
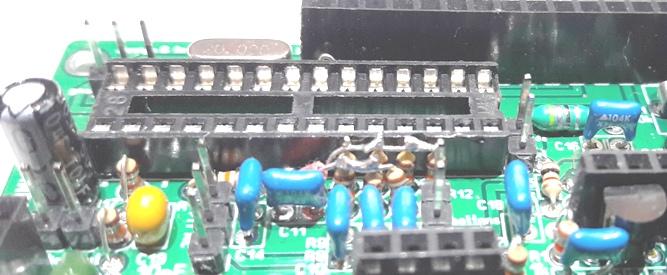
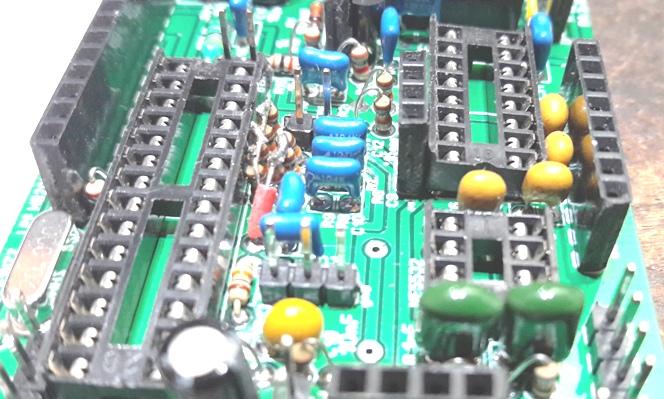
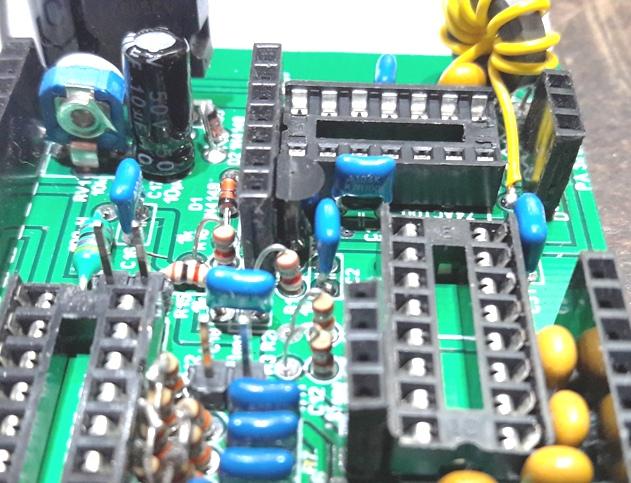
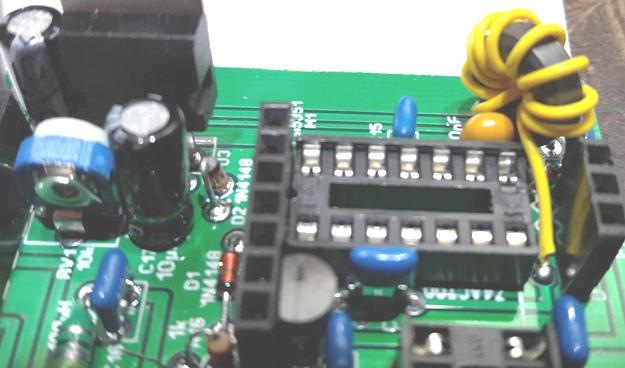
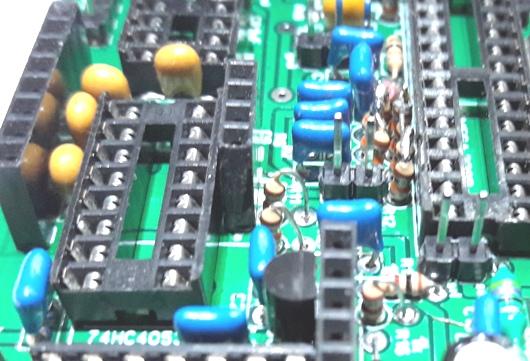
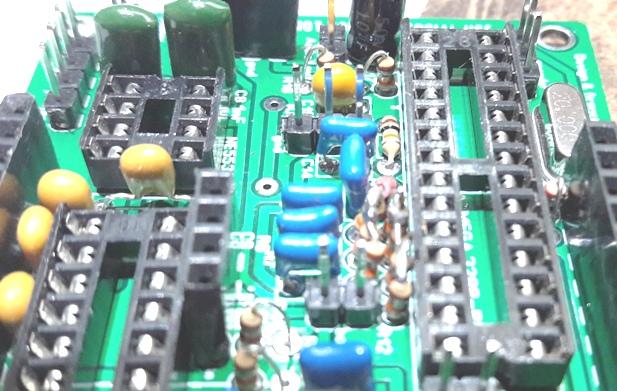
B) Na sequência os capacitores
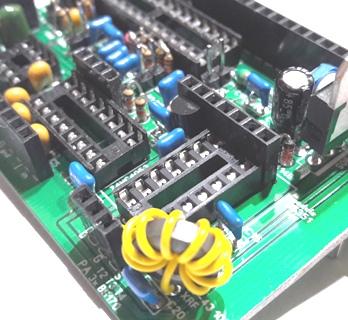
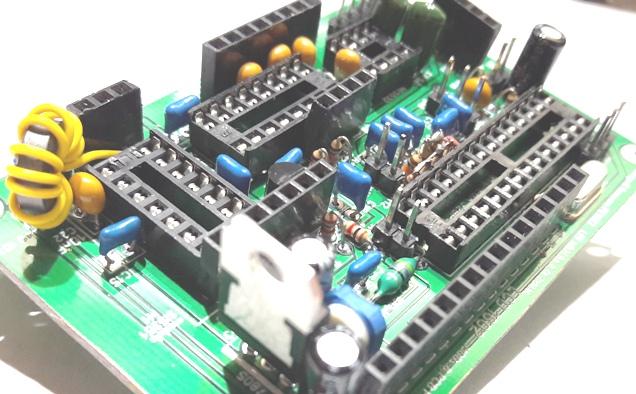
C) Finalmente os ressitores, trafo toroidal e o conector.
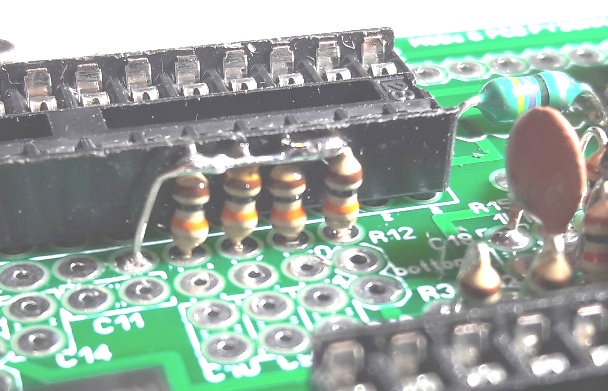
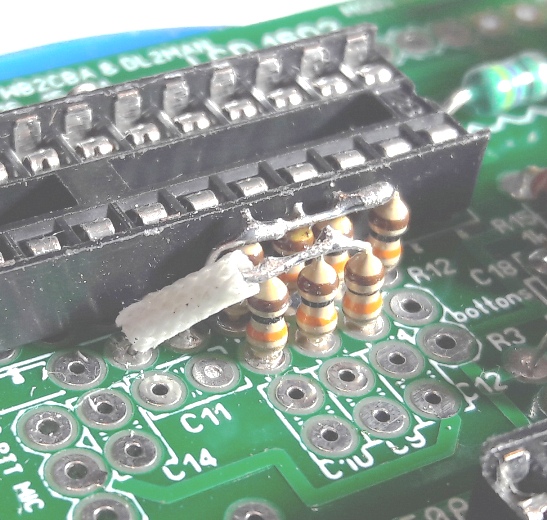
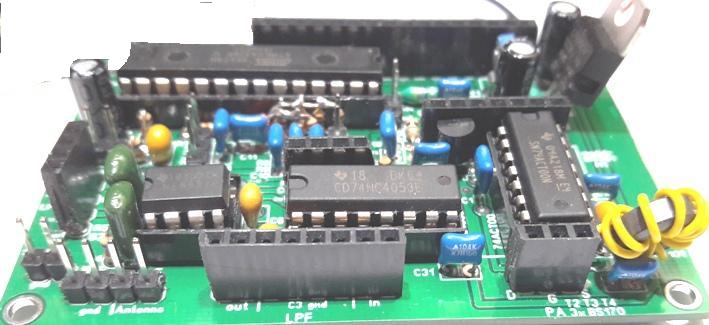
Aproveitando que o ferro de solda estava quente soldei os transistores do PA (3xBS170).
Aqui tem que prestar muita atenção para não colocar invertido D(dreno) e S(fonte).
Esse da foto já conferi
73 PU2XTL - Heitor



uBITX v 6.0 QRP transceiver
- Upto 10 watts pep on lower HF bands, dips to 5 watts on 28 MHz
- SSB and CW
- Simple to build and align
- Minimal controls
- Based on Arduino Nano controller and a Si5351 for all local oscillators
- Double conversion, superhet architecture
- It can be scratch built for less than $50 or you can just buy the kit
Note: Looking for circuit description of earlier versions of uBITX?
Click here for (v3) uBITX | (v4) uBITX | v5 uBITX
Homebrewers have traditionally avoided making multiband transceivers as they can get extremely complex and difficult to make. There have been some remarkable successes in the past, the CDG2000 (designed by Colin Horrabin G3SBI, Dave Roberts G8KBB and George Fare G3OGQ) is one such design. The Software Defined Radio (SDR) route as followed by several designs offer some simplification at the cost of bringing digital signal processing and a PC into the signal path.
On the other hand, many of the homebrewers do need a general coverage transceiver on the bench as well as as a base transceiver for bands beyond the HF. I ended up buying an FT-817ND that has been a reliable old warhorse for years. A few years ago, I attempted a high performance, multi-band architecture with the Minima transceiver. The KISS mixer of the Minima, though a very respectable receiver front-end, had serious leakage of the local oscillator that caused that design to be abandoned as a full transceiver. Over months, I realized that the need for a general coverage HF transceiver was wide-spread among the homebrewers. Most of us simply end up buying one.
While achieving competition-grade performance from a multiband homebrew transceiver is a complex task, as evidenced by the works like that of HBR2000 by VE7CA, it is not at all difficult to achieve a more modest design goal with far lesser complexity. The µBITX aims to fulfill such a need. It is a compact, single board design that covers the entire HF range with a few minor trade-offs. This rig has been in regular use on forty and twenty meters for a year at VU2ESE. It satisfies for regular work, a few trips to the field as well.
Having exclusively used homebrew transceivers all the time, I get very confused whenever I need to use a commercial radio. There are too many switches, modes and knobs to twirl around. The µBITX use an Arduino to simplify the front panel while retaining all the functionality in a simple menu system that works with the tuning knob and a single function button. The rig supports two VFOs, RIT, calibration, CW semi break-in, meter indicator, etc. In future, more software can be added to implement keyer, SWR display, etc.
The Circuit Description
A contemporary approach to multiband superhet radio is to upconvert the entire spectrum of interest (0.5 to 30 Mhz) to much higher intermediate frequency that is at least 1-½ times the highest frequency of interest (for us that would be 45 MHz). Though narrow band SSB filters are available at 45 MHz, they are do not have a good response in addition to being costly and difficult to obtain. Hence, we choose to an inexpensive, though 15 KHz wide, 2 pole 45 MHz filter as a roofing filter. This filter sets the wide-range IMD of the receiver.
To tune from 0 to 30 MHz, the first oscillator tunes from 45 MHz to 75 Mhz. Accordingly, the IF images will be from 90 MHz to 125 MHz. These are easily stripped away by a 4-section, low pass filter in the front-end. A higher first Intermediate Frequency could have resulted in even better image rejection.
Here is the block diagram of the µBITX :
The receiver front-end has a 0-30 MHz filter low pass filter (shown as the left-most block in the diagram above). This is a simple four-section filter that was interestingly described by Wes Hayward on his own website, (the original article that had very useful information about building filters on pcbs. It is, sadly, no longer available). The four sections of low pass filtering has adequate attenuation at 90 MHz and beyond.
he receiver front-end has a doubly-balanced diode mixer without a preamplifier. A preamp would have been necessary if the front-end had a higher loss band pass filters. The low pass filter has a loss of about 1 db, eliminating the need for a preamp to follow it. The diode mixer’s loss is another 7 db. The overall noise figure is probably about 13db. A 0.1uv signal is clearly audible.
The diode mixer is a standard issue doubly-balanced mixer. Versions built with 1N4148 as well as BAT54S (a very inexpensive, useful part that has two matched diodes in a single SMD package) work equally well.
The [CW_KEY] label in the above circuit provides CW operation. We will discuss this later in this article.
You should know about the front-end mixer :
- The L31, C205, L32 together form a single low pass filter that attenuates the 2nd harmonic of 45 MHz from getting into the diode mixer (during the transmit state). This cures the spurs that were reported in earlier versions.
- A preamp would have been necessary if the front-end had a higher loss band pass filters.
- The low pass filter has a loss of about 1 db, eliminating the need for a preamp to follow it.
- The diode mixer is a standard issue doubly balanced mixer. Version built with 1N4148 as well as BAT54S (a very inexpensive, useful part that has two matched diodes in a single SMD package) work equally well. The diode mixer has a DC bias that can be raised to unbalance it and allow CW operation (more about it later)
- The mixer is fed from clock#2 of the Si5351 through an attenuation pad. The pad provides proper termination to the Si5351 and a proper drive to the diode mixers.
The diode mixers need an SWR of 1:1 at all the three ports (RF, IF and the oscillator drive). Improper matching of the diode mixers can lead to a large number of spurious responses.
For those building the µBITX from scratch, remember that the leads from the Si5351 to this mixer should be kept very short. Longer leads will result in picking up of clock #1 signals from the Si5351 which can create transmit spurs that are 12 Mhz away from the carrier frequency.
The mixer is followed by a post-mixer amplifier (labelled RX 1st AMP). We used the excellent termination insensitive amplifiers (TIA) developed by Wes Hayward and Bob Kopski (read about them on www.w7zoi.net). These amplifiers work without transformers and they provide excellent termination on both sides. This is a key requirement for bidirectional transceivers like the µBITX . We use four blocks of these amplifiers in this transceiver. The amplifier block has a gain of 16 db and OIP3 of about +20 dbm as measured inside the µBITX .
This amplifier does three important things at once :
- it provides necessary gain to overcome the losses in the following 45 MHz band pass filter,
- it provides proper broadband termination to the mixer at all HF frequencies,
- it provides proper driving impedance for the 45 MHz band pass filter.
45 MHz Band Pass Filter
A low cost two-pole 45 MHz crystal filters are now widely available from online sources. We used this to eliminate the guess work with tuning a band pass filter and also to provide better selectivity early in the transceiver’s signal path.
The 45 MHz filter needs 500 ohms termination impedance on both ports. We use simple L network to match the filter to either ends of the front-end and the 2nd IF mixer.
Note: We had use a series tuned, three section band pass filter at 45 MHz for the prototype. This filter was been purposefully kept a little broad to eliminate the need to tune it. Experimentally inclined scratch-builders may choose to use air core coils with proper shielding for this stage.
The second RF mixer down converts the 45 MHz IF to 11.059 MHz. Earlier versions had the second IF at 12 Mhz, this is moved to 11.059 MHz to avoid spurs from the microcontroller. It uses another standard issue double-balanced diode mixer followed by another clone of the RF amplifier used in the front-end. To invert the sideband between USB and LSB, the second oscillator is switched between 33 MHz and 57 MHz. This is controlled by the µBITX software.
The ladder topology is now enhanced with the improvisation suggested by G3UUR. Paralleling up crystals at two ends of the regular ladder filter of Cohn topology really flattens out the response and even improves the losses. We use a six-section ladder filter here as we can afford the slightly higher losses given that we have had enough gain from the preceding stages.
Microprocessor-grade crystals are available cheaply and are well suited for the purpose. The lower Q of these crystals results in higher losses. We can handle the higher losses by increasing the gain in the 2nd RF amps that in turn results in slightly lower IIP3 (it is about +5 dbm as measured) at close range.
The 11 MHz filter needs 200 ohms termination at both ends. We achieve this through 1:4 transformers that have the robust 50 ohms terminations. Taking care to terminate filters properly is the secret to having a nice sounding radio.
(De)Modulator
The post filter signal is strong enough to not need an IF amplifier, so we directly take it to a balanced (de)modulator made out of two matched diodes. It is important to use matched diodes here as the same circuit is also used to modulate during transmission.
Balance controls are pesky circuits, they are easily unbalanced and setting them properly is more difficult than finding two diodes with the same forward resistance and soldering in the pair. An easier option it to just order a small strip of the inexpensive BAT54S which come as pre-matched pair for a few pennies each.
We use the remaining CLK#0 output of the Si5351 to drive the BFO. The carrier is permanently fixed to generate upper sideband signal. The sideband is inverted by flipping the second oscillator between 33 MHz and 56 MHz. When the second oscillator is at 34 MHz, the upper sideband propagates either way without inversion as 33 + 11 = 45 MHz. When the second oscillator is at 56 MHz, the 45 MHz is generated as 56-11 = 45 MHz. Note that in the second case, the 45 MHz signal will decrease in frequency as the 11 MHz signal is subtracted from 56 MHz, thus achieving sideband inversion. A few minutes of pencil and paper work will be required to figure out how this works.
The audio preamp is a carry over from the microR1 direct conversion receiver’s simple audio amp. This must be the simplest circuit block in the radio, yet it has the most gain in the entire receiver chain. Using fewer active devices in the amplifier chain is really the key to low distortion audio. This is supported by Math.
The audio amplifier in the updated (revision 5 onwards) uses the LM386. It can drive a small speaker. If you prefer headphone operations over speaker, you may remove the 1uf capacitor between pins 1 and 8 for lower distortion. You may, if required, substitute this for any other audio amplifier of your choice.
A 2N7000 is used to mute the audio from the signal path while transmitting. It prevents thump of the T/R circuitry from getting into the speaker output.
CW sidetone
The CW sidetone is generated as a square wave from the Arduino. It passes through an RC low pass filter to the audio amp during key down periods
Transmitting
The transmission is really the same signal flow in the reverse direction. The mic has a bias resistor to allow for electret microphones. The output at the low pass filter is about -10dbm. The transmit power chain has a two 2N3904 broad band class A amps that boost the power to about +13 dbm level.
Software Description
The Arduino source code for the µBITX is available on https://github.com/afarhan/ubitxv6
The Arduino works with a common 320×240 TFT display using the ILI9341 display controller and an Si5351A. The software controls the oscillator, implements two VFOs, and provides a calibration routine. The code is always changing so it may do things not mentioned here.


